Take one clear, straight-on identification photo. Add a separate angle for the finish and a close-up of unreadable details; one image rarely answers every question.
Put this guide to work
Use the details you have confirmed to research your card. Leave uncertain fields unconfirmed.
Research your card →A white reflection can hide the detail you need
You can read the player name in your hand, yet the phone shows a white patch across it. Before trying another app, move the light. Put the card on a plain surface near indirect daylight, turn off flash and watch the reflection on the screen. Move the light or phone slightly until the important print is visible.
Keep the phone parallel to the card for the main photograph. Use a second, gently angled view to show a reflective finish. That second view is supporting evidence, not a replacement for a readable, undistorted front.
Keep the information visible
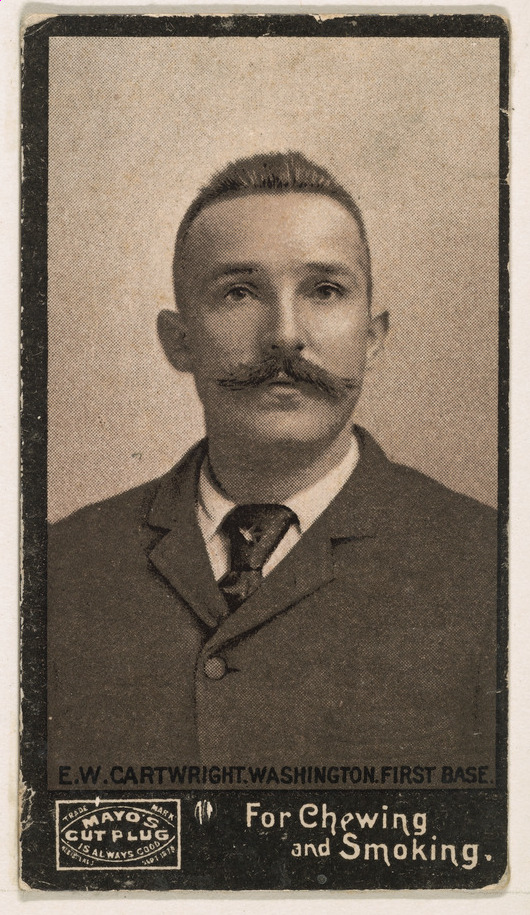
Frame one card with all four corners visible
Choose a background that makes the outline easy to see: a dark mat behind a pale border, or plain light paper behind a dark card. Leave a small margin around every edge. Keep fingers, packaging and other cards out of the frame.
Tap to focus on the printed name or number. If moving closer makes the text blur, move back until the camera focuses; cropping a sharp photograph is more useful than an out-of-focus close-up. Avoid heavy digital zoom and filters that smooth away small print.
Try changing the light before removing protection
A sleeve, toploader or one-touch case can add reflections and scratches that are not on the card. First change the light and photograph the protected card again. If you safely remove a raw card, use clean, dry hands and support it without touching the surface. Do not force a tight holder or handle a fragile card merely to improve a scan.
Keep graded cards sealed. Photograph the full slab and a readable label separately if necessary. A readable certification number supports an official lookup; it does not prove that the physical slab is authentic.
Give the back and serial stamp their own photograph
The back may carry the checklist number, product wording and copyright line. A serial stamp such as 07/99 may appear on either side, depending on the issue. Photograph the side that actually contains it, then take a close-up if foil obscures a digit.
A Base and Silver card may share a checklist number. Neither a rainbow reflection nor the absence of a serial stamp settles every parallel. Use the product reference and more than one viewing angle.
Save usable evidence, then check the candidate
Keep the original front, back and detail photographs together. Check whether you can read the name, product mark, card number and any stamp at normal image size. If a field remains unclear, record it as unknown rather than letting a scanner guess become a fact.
WhatsMyCardWorth’s web checker is a text-based research tool, not a photo uploader or a centering measurement tool. Use the confirmed printed details to build a search here. Carduno is our related app for a separate scanning workflow; its suggestions need the same identity checks.
FAQ
Should I tilt the card for every photo?
Keep the main identification photo straight-on. Use an additional angle when it reveals a finish or removes glare.
Will a better photo guarantee recognition?
No. Coverage gaps and visually similar issues can remain even with a clear photograph.